Engrave Plate
Start the engraving process.
Onscreen Instructions
Follow the onscreen instructions on the controller.
Tips shown on the bottom of the screen refers to the below section.
When all plates for the wallet have been engraved, continue to verifying the backup.
In-app Tips
1: Overview Screen
- Make sure that the master fingerprint matches the seed you want to produce a backup for.
2: Turned Off and Disconnected
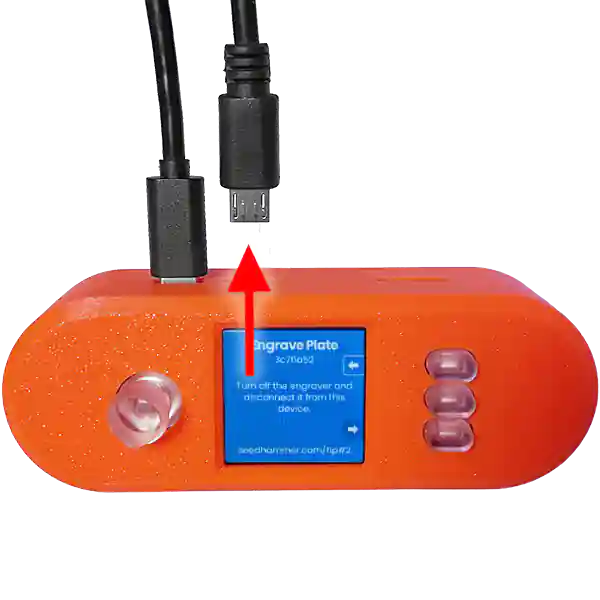
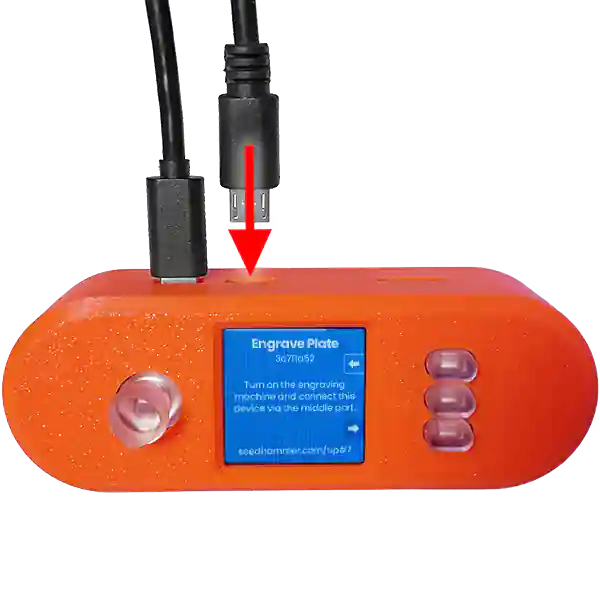
Make sure the engraver is turned off.
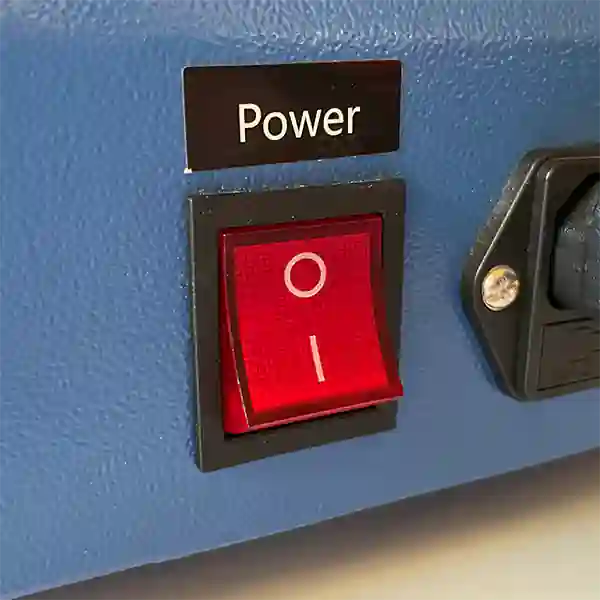
If the device is connected to the machine disconnect it. Make sure to power the device using the outermost USB port.
3: Move Hammerhead
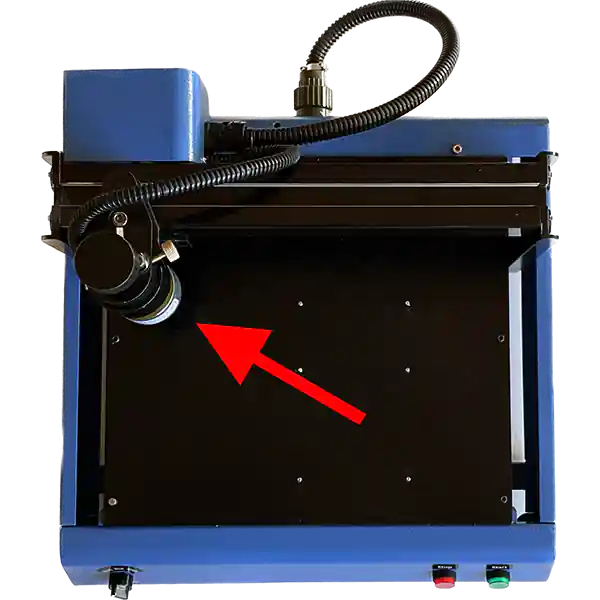
Manually move the hammerhead to the far upper left position.
4: Place Steel Plates
Make sure you place the correct steel plate (SH01, SH02 or SH03) depending on the wallet type you are engraving.
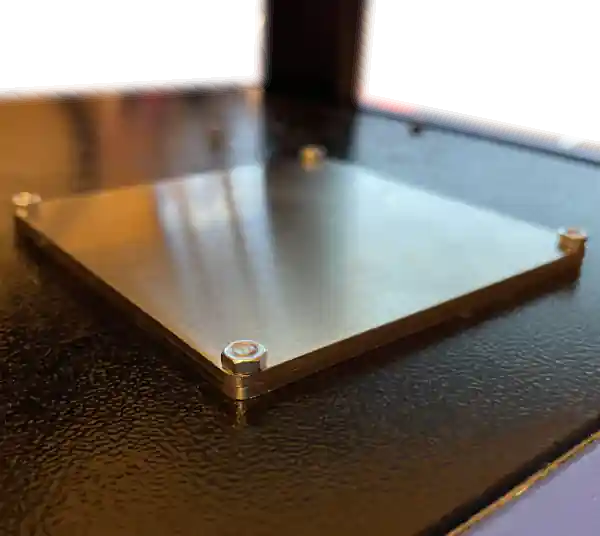
Do not use any washers even though they were supplied with the machine.
5: Adjust Needle Distance
Loosen the horizontal hammerhead finger screw.
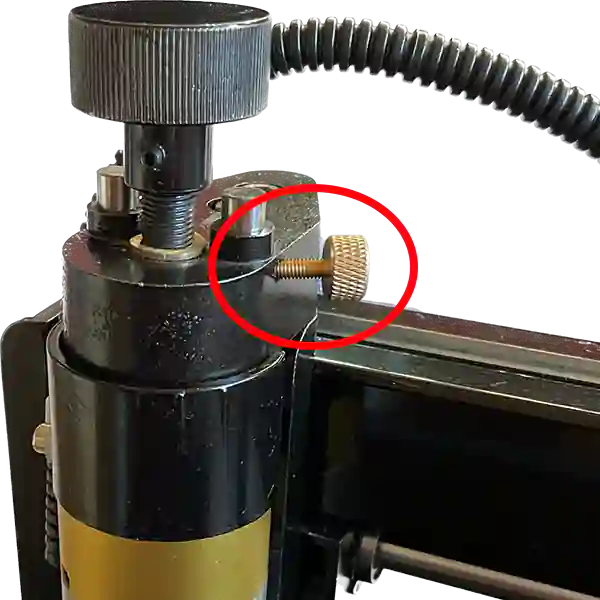
Adjust the needle distance using the top wheel to approximately 1.5 mm above the plates (the thickness of 2 credit cards), ensuring it does not exceed 2.0 mm, as this can cause the needle to fail to hammer properly.
6: Tighten Finger Screw and Set Depth
Tighten the horizontal hammerhead finger screw.

Make sure the depth selector is set to "Strong".
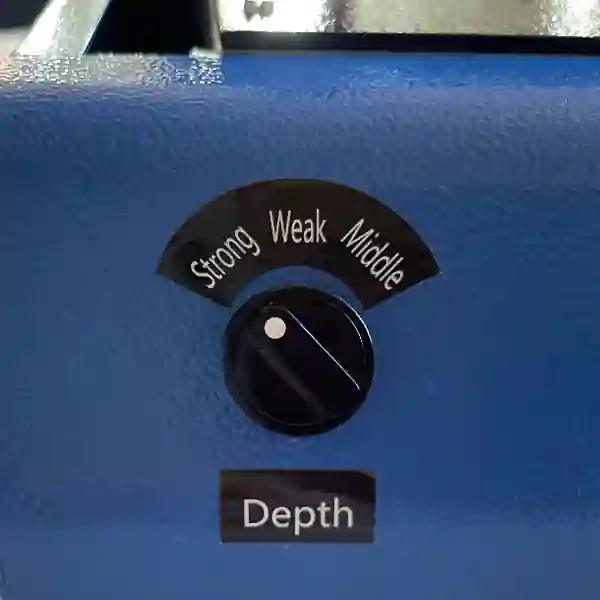
7: Turn Machine On and Connect Controller Device
Turn on the engraving machine.
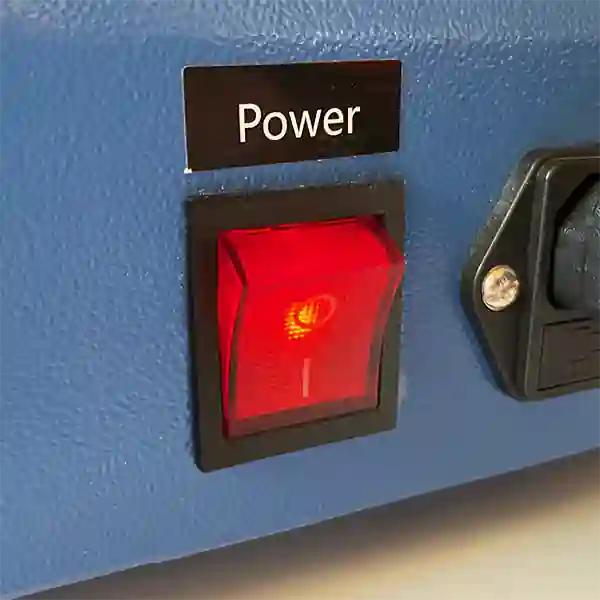
Connect this device to the engraving machine via the middle port.
8: Start Engraving
The process is loud, use hearing protection.
When the machine hammers, excess oil can be released from the hammer head. This is normal and will stop on its own.
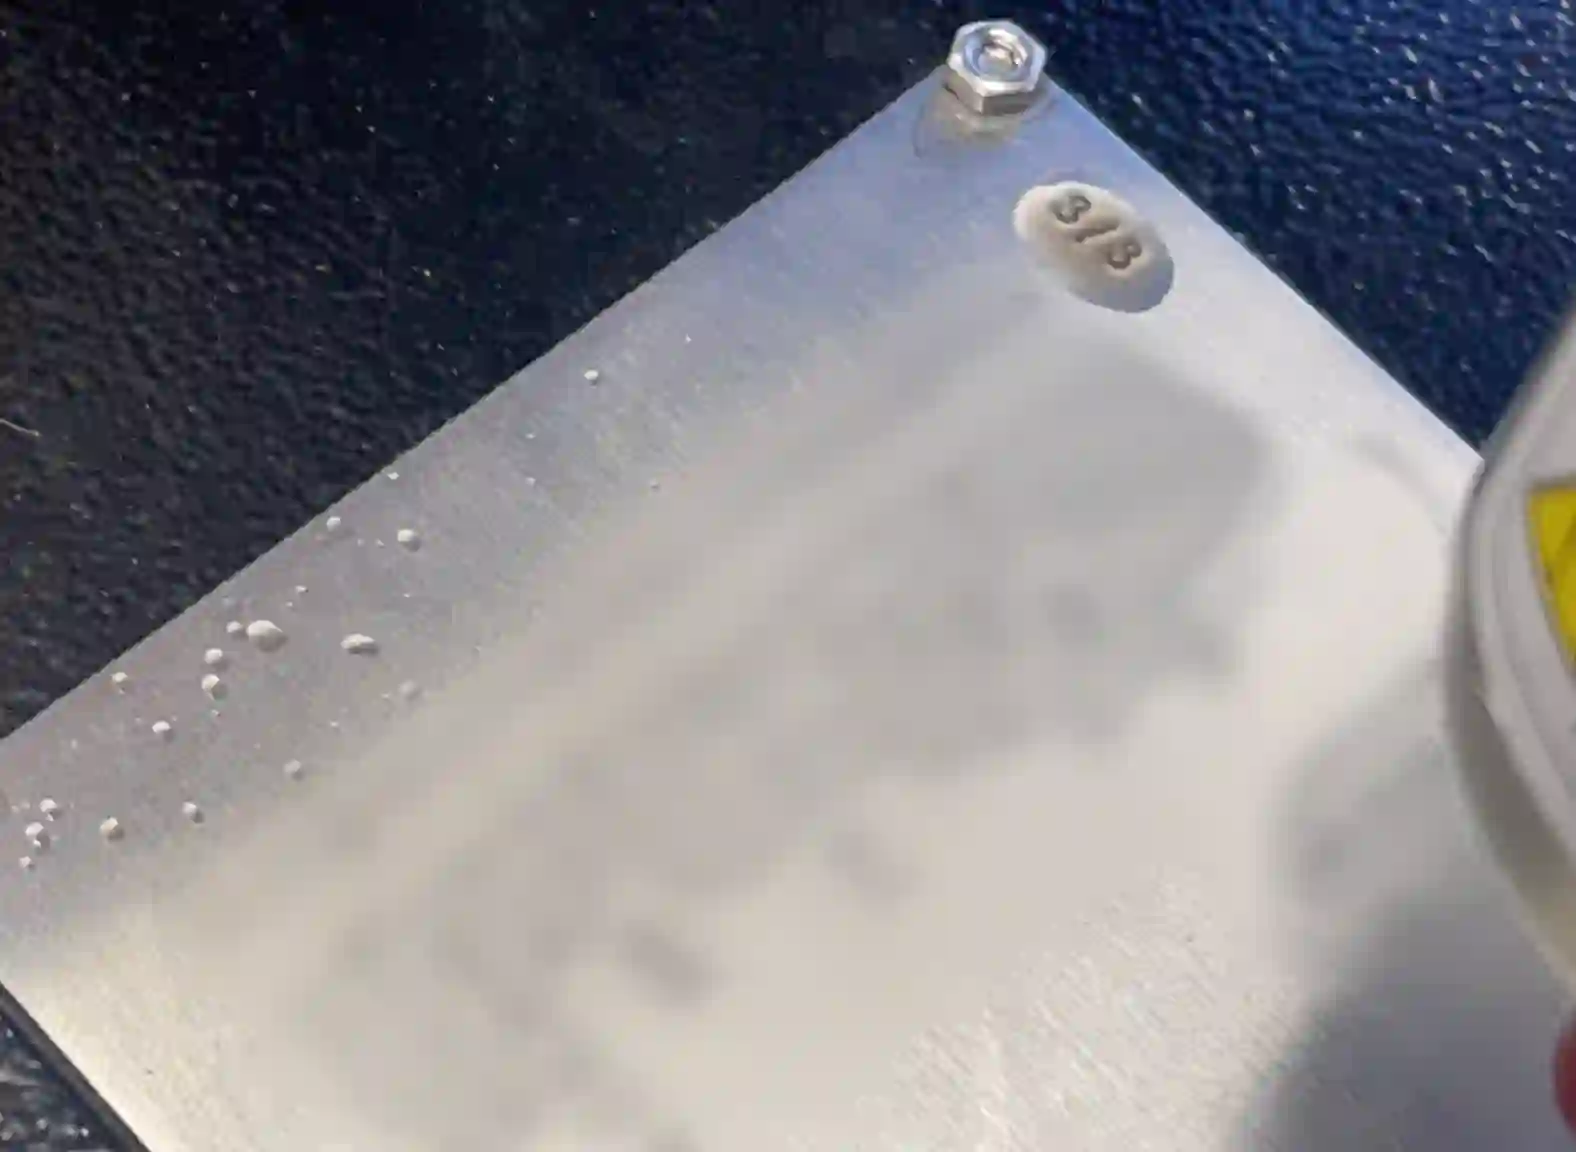
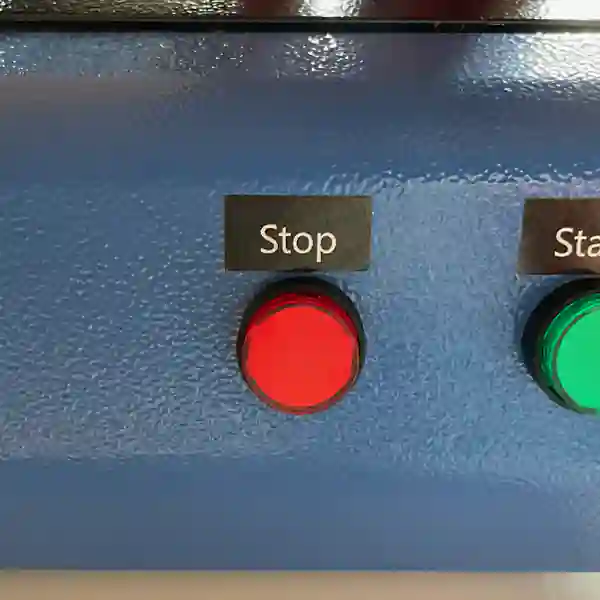
In case of emergency or unexpected engraving behaviour, press the stop-button on front of the machine.
